Showing posts with label papercrafts. Show all posts

March 12, 2013

March Art Journal

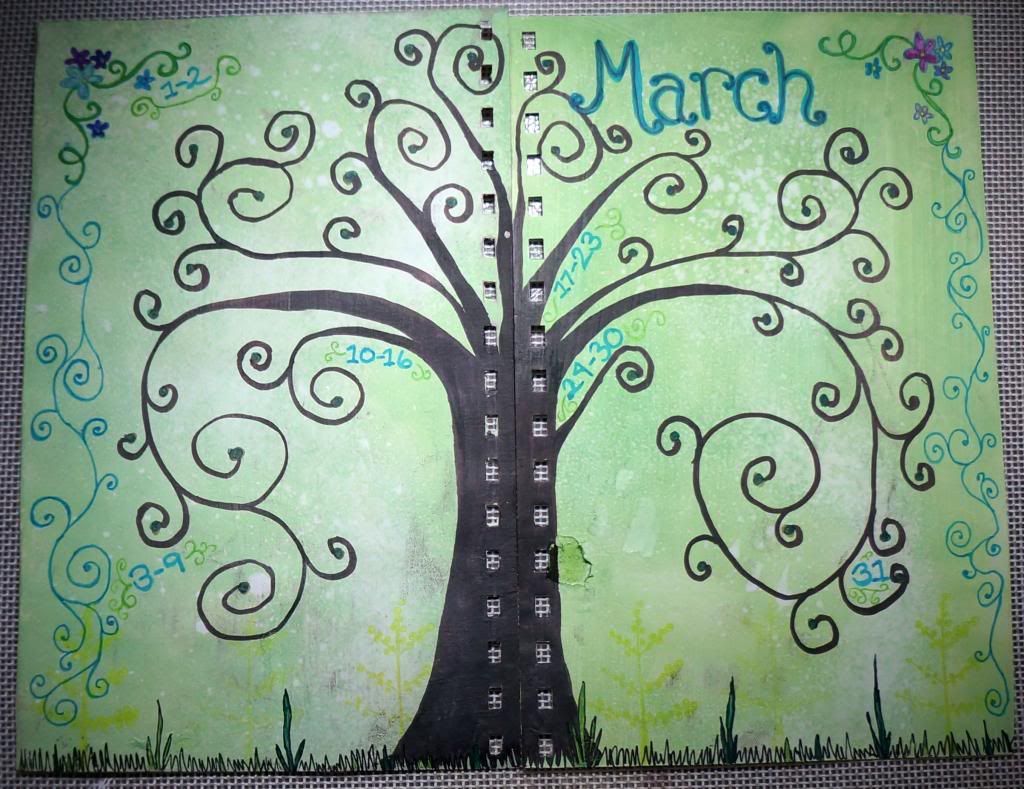
I'm posting this a bit late, but it's actually been done for a while.  Instead of doing a daily journal, I decided to do weekly summaries.  To me, March is the beginning of the rest of the year.  Flowers like daffodils and tulips start to send up shoots, trees are forming leaf buds. I don't like winter and March gives me hope.


This page was very simple. I just inked up the background, stamped a couple of images and the rest is doodling with markers

February 20, 2013

Wedding Scrapbook

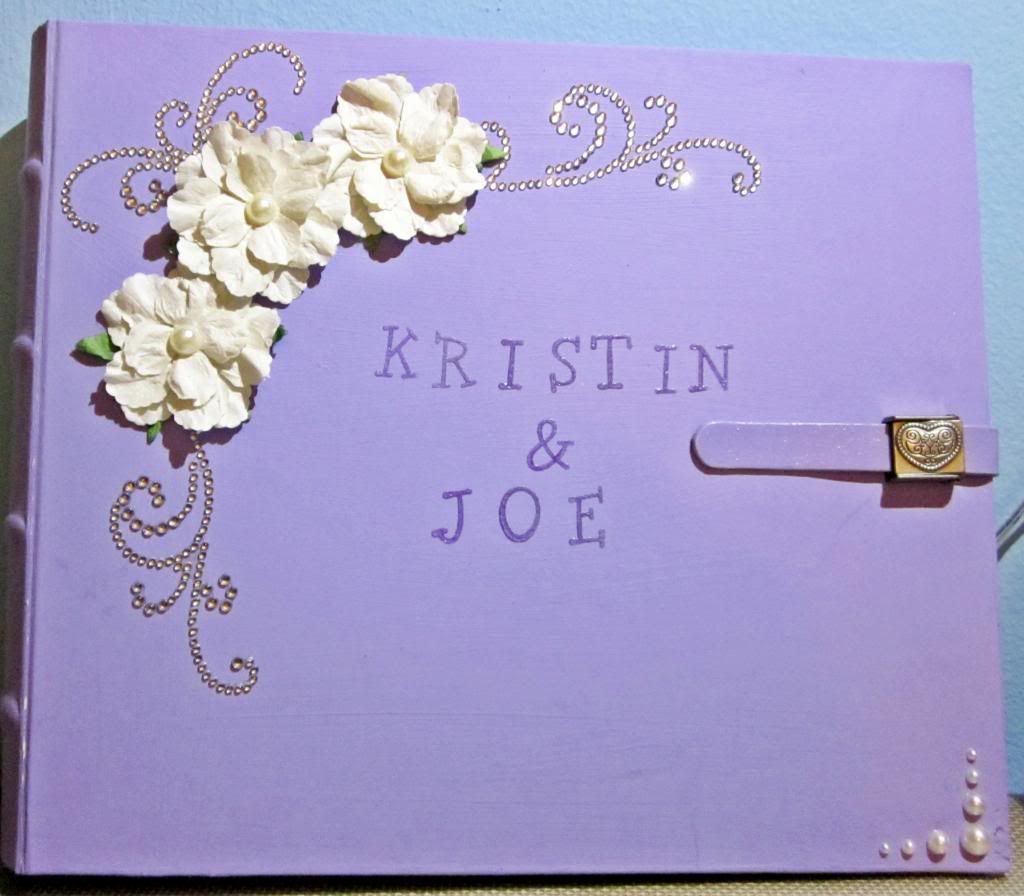
My sister-in-law got married this past August.  For her bridal shower gift, I made her a scrapbook. For the actual shower, I had the cover done and most of the layouts set up inside, but obviously had no photos. In the end, I ended up putting the photos in and embellishing as well so she had a completed scrapbook.  This is the cover.


I used:

Some Prima flowers
A Bind-It-All 8x8 Cover-All, and heart shaped Rivet closure.  
and some extra bling in the lower right corner.

For the Want2Scrap bling, I cut up the original piece to get others that could be spread out. It made a completely different design that works well with the flowers. 


February 9, 2013

February Art Journaling

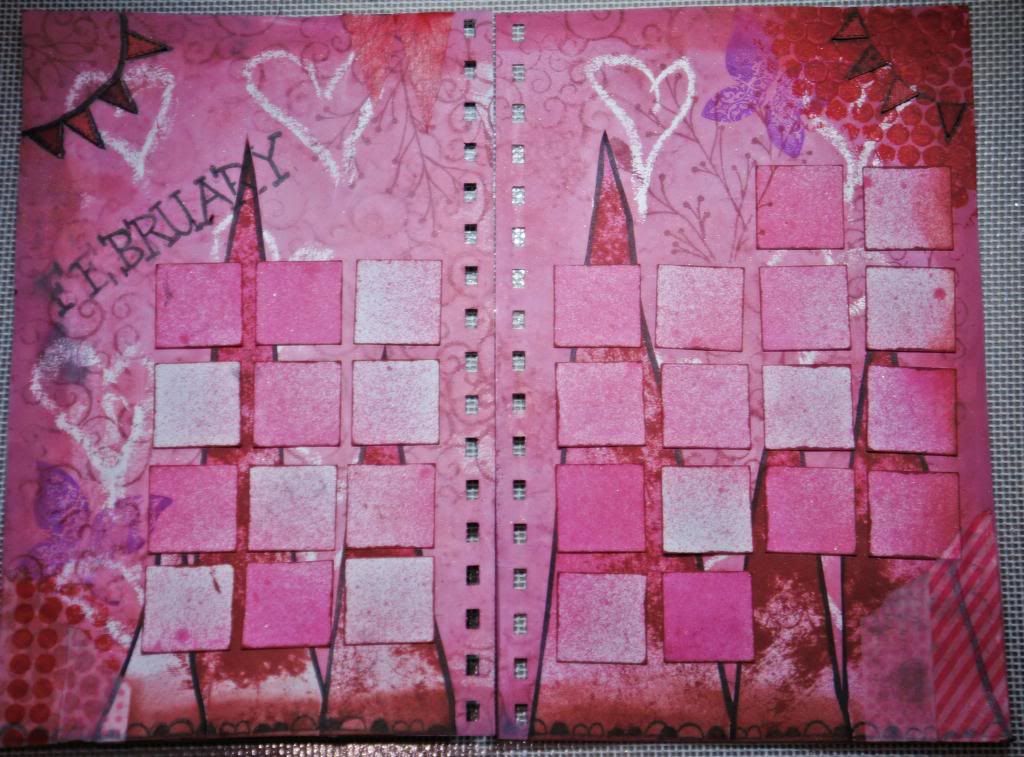
Here are my February art journaling pages.  I'm finding that filling out each day is difficult to do.  For March, I might try making strips and doing a weekly summary instead of individual days.


I used clear candle wax to draw on the hearts, then inked and layered over them.  This layout has many more layers than my January one...but still needs some more bling.

Linking up at The Kathryn Wheel

February 3, 2013

A CAS(E) Birthday Card

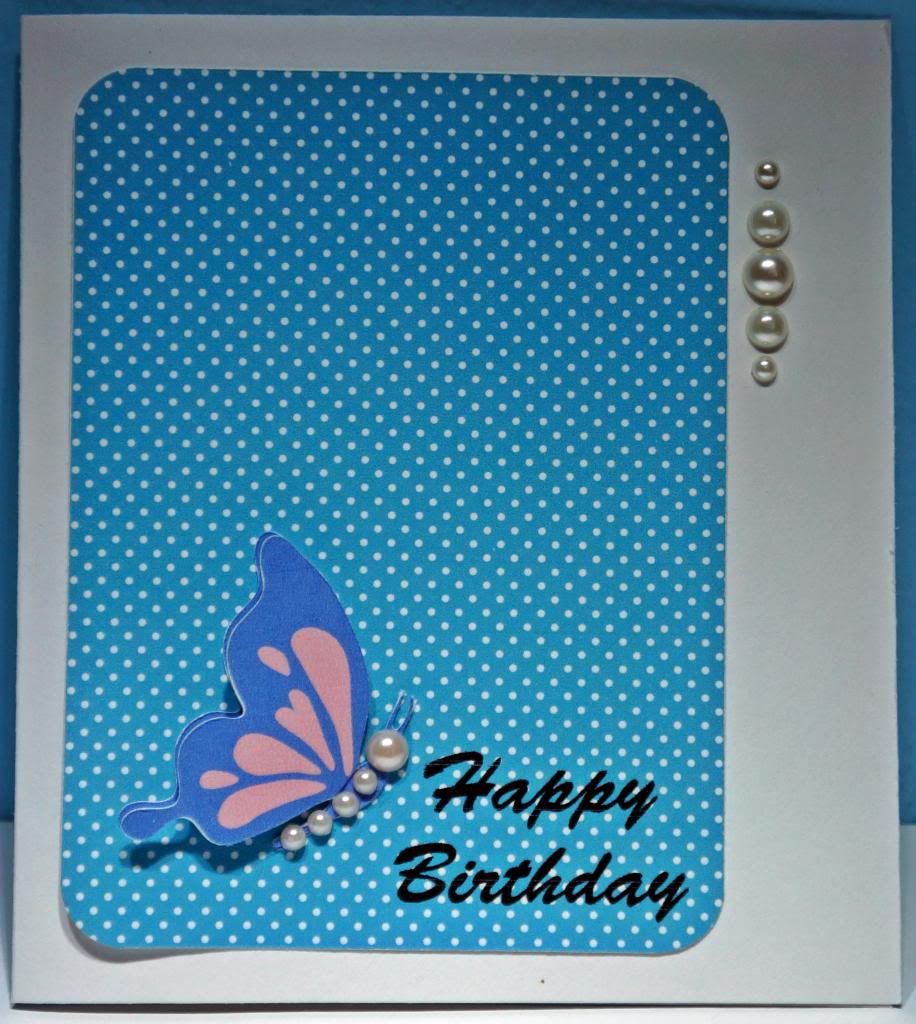
I made a simple birthday card for my mom following along with this weeks CAS(E) sketch.


I wanted to make the butterfly look more dimensional, so I print-and-cut two sets of butterflies, attached them at the body, then added a pop dot to make one of the wings stick out more.  

January 22, 2013

Another Christmas Card

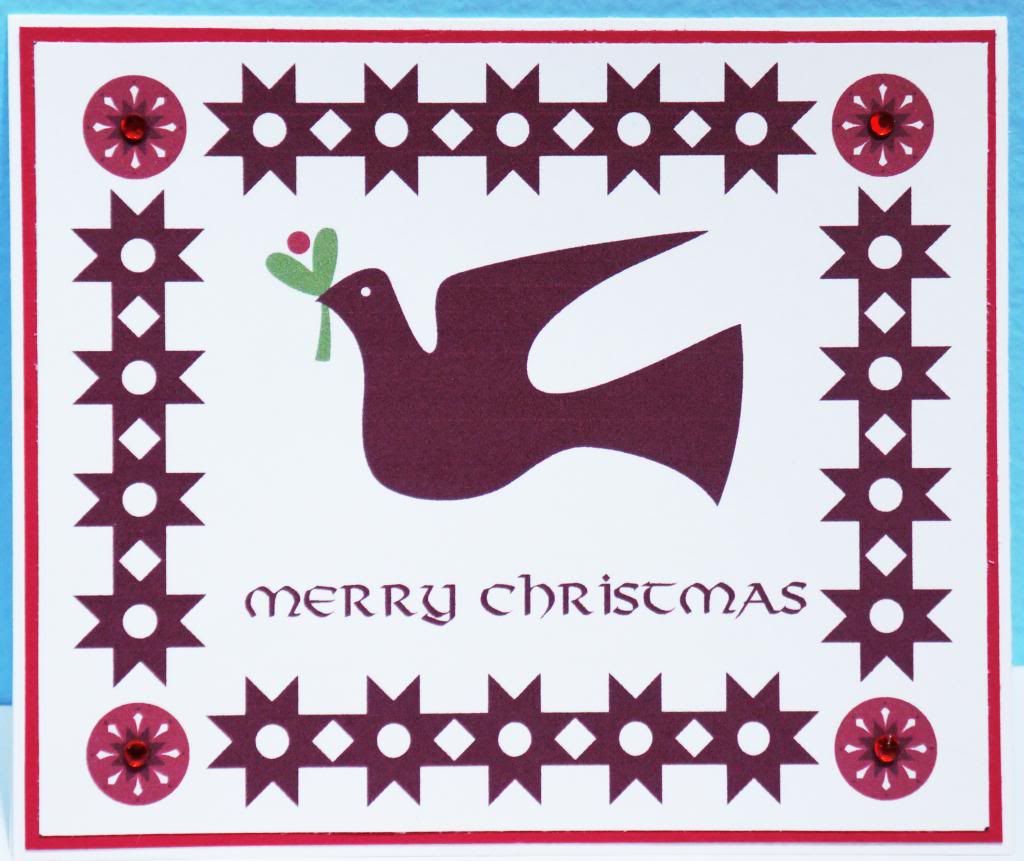
This card follows along with the simplicity theme I've been enjoying lately.  The card was designed with Make-the-Cut and Lettering Delights Nordic Christmas svg files.  It was printed out then layered on top of the card with a red layer.  I added some Want2Scrap bling in the corners for some shine.

I'm entering this card in two challenges.  The Jingle Belles Scandinavian Challenge's criteria was to make a card using the color red. I also stuck to their Scandinavian inspiration.

Alway's Playing With Paper's Merry Monday challenge is to use birds in your Christmas card. 

January 19, 2013

Beer Soap

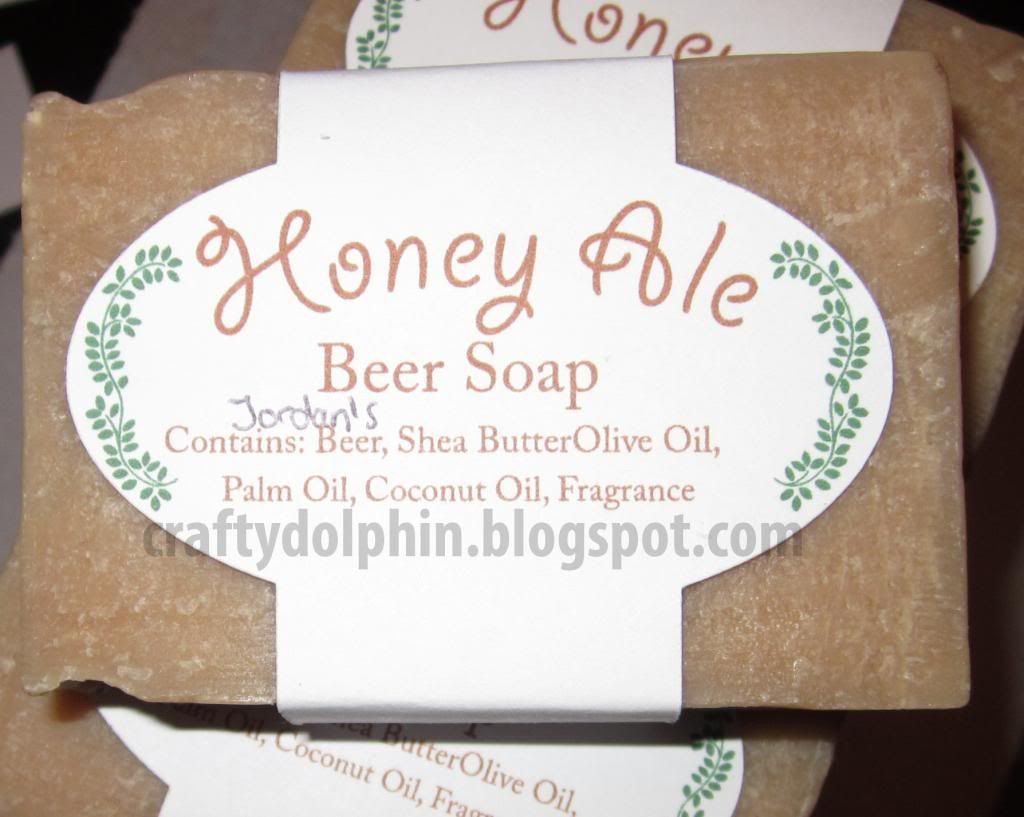
For Christmas, I made two batches of beer soap.  My brother has been home brewing for a while now and I thought it might be nice to make some soap with some extra beer he had.  There were two types I made. The one pictured below is one I consider more girly. It has some extra oils in it and the scent is stronger.


I made the label using Make-The-Cut and a Lettering Delights font and doodlebat.  Each woman I gave a Christmas present to got a bar of this soap.

I forgot to take a picture of what I called The Man Soap.  It had a lighter fragrance called Oatmeal Stout.  It was mostly made of olive oil, but also had some coconut and a little palm oil as well. I also fixed the label to include my brother's name instead of writing it on all of them.  All the men got a bar of this soap. The extra's went to my brother and his wife to use or hand out as gifts.

January 5, 2013

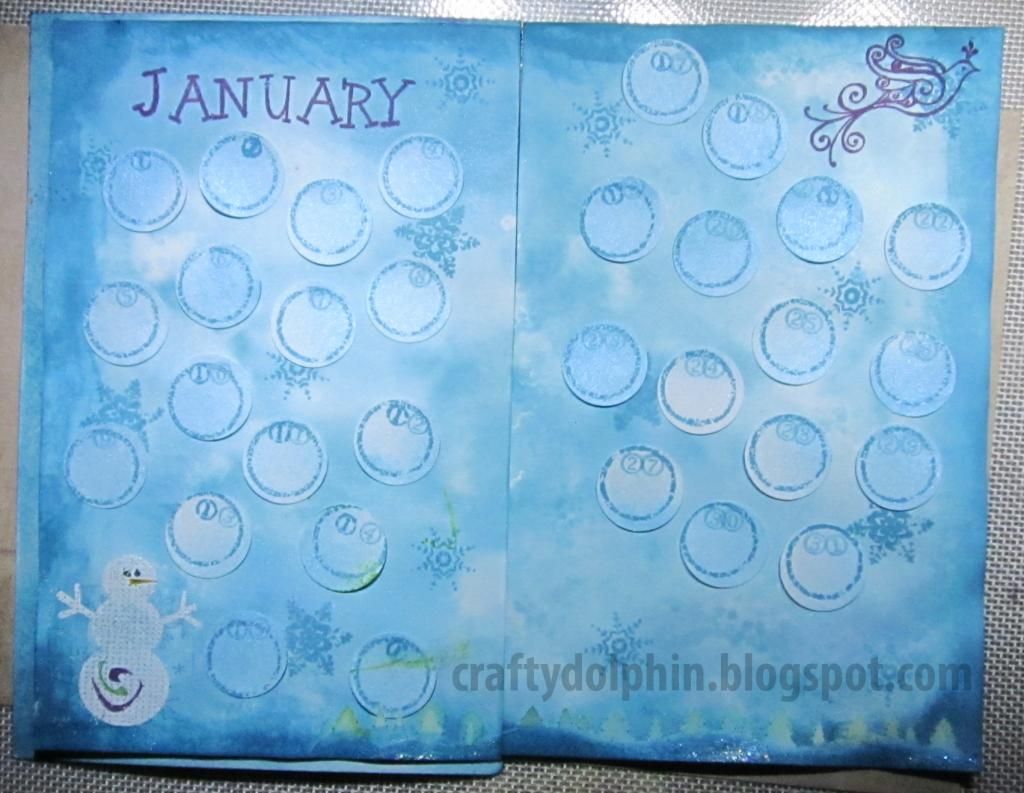
Art Journal Calendar - January 2013


It's been a while.  My crafting has really gotten pushed to the side lately mostly because of work and classes.  My one New Year's resolution this year is to craft a little more.   To start off, I decided to participate in a monthly art journal calendar over at ...the kathryn wheel.  I wanted to participate last year when I finally heard about it, but never got around to joining in.  Her journaling is amazing.

At the end of the year, I plan on using my Bind-It-All to bind all the pages. On the left side, you can see that the January page is glued to another. That is the cover and is still a work in progress.

For this page I mostly used my new distress inks I received for Christmas from my wonderful husband. I've never used them before and so far they're awesome.  I also used a little bit of Glimmer Mist and the sparkly Mod Podge (down at the bottom of the pages).

So far so good...now I just have to start filling in the circles.

I hope everyone had a wonderful and safe holiday.

June 14, 2012

Guest Designer - Scrapbook and Photobook

Hello!  Long time no post.  It's been a crazy year so far.  I finished up another semester as a grad student and then had our reception/housewarming party this past weekend. That was crazy!

Today I am a guest designer over at Getting Cricky with K Andrew.  Be sure to check out her store here.  She has lots of fun stamps as well as huge rolls of bakers twine for just $5 each.  Check out all the colors. I used the green in one of my projects below.

For my guest design, I used her Of Mice and Lil' Men stamp set.


 I thought up lots of ideas using this set.  My husband's family has had horses since before he was born.  They did a lot of fun local shows when he was a kid.  He got to dress up and play cowboy on a real horse.  Young me is green with envy.


For my next project, I added some fun Disney themed stamps to a Disney photo album I have been working on.  They make the perfect embellishments for anything Disney related.  

The cover:

Inside pages:


Back cover:


April 23, 2012

Recycled Christmas


This week's prompt over at the Jingle Belles blog is Peace on Earth(Day) where we are to recycle materials to make the cards. I chose to use a piece of cardboard for the front and some scraps for the rest. Most of the paper on the cardboard came off, but not all. I like the look. I slapped on some gesso then spritzed with some glimmer mist. The snowman stamp is a $1 one from JoAnn's and the words are from a stamp set by K Andrew. They're all embossed except for the snowflakes. I did follow the Merry Monday sketch from last week, but wasn't able to download the image until today, so it wasn't linked up.


 In other news...my semester is almost over! I have one crazy take home exam and possibly another. It's been a busy semester with working full time and taking two grad level courses. I'll be happy to have my evenings back for the summer and be able to make more crafty things.

The chicks are doing well. I'll be able to move them into their new coop hopefully tonight. We just have to get some hinges and latches on. I don't think I can call them chicks anymore though. They're getting so big. Pictures will come very soon of the coop and the girls.

April 2, 2012

Simply Birthday Card

This is a very quick and simple birthday card I made for a guy friend. I always find it difficult to make things for guys that meet my manly criteria.

March 31, 2012

Easter Egg Card and Chick Update

For Easter, I made two versions of this card. Both are purple and white, but for the other I used different colors for the butterflies and flowers. I took inspiration from a card someone else made on the Make the Cut forum.


It's being entered in Getting Cricky With KAndrew's simply Sunday challenge.

My chicks are getting big. The books warned they'd go through this ugly phase after their cute chick phase, but I think they're still pretty cute. It's been really neat to watch them grow. They're getting more friendly too.

March 9, 2012

Christmas Card

This card is for the Jingle Belles Neutral Noel challenge and


The tree and dots are actually embossed with a pretty gold powder, it just came out poor in the photo. I took inspiration from the tree pillow, then found some grungy papers and went with it. I don't think it quite works, but I still think it looks okay.

On a side note, I got chicks today! I've been wanting some laying hens for a few years, but living in apartments hasn't allowed for it. Last summer was so crazy with buying and moving into the house. So now I have some. There are six of them and they are golden comets.

March 3, 2012

Jingle Belles Challenge

As a break from working on my organic chemistry homework today I made a Christmas card for this week's Jingle Belles' challenge. It was to create a card using stickers or rub-ons.

.

The 'let it snow' words were from a sticker pack. The snowflakes are adorable dimensional stickers from K&Company. I added some glitter around the edges of the card using some Martha Stewart paint I received with my Live from CHA kit. It was very easy to put together since most of it was stickers.

Inspiration for the 'let it snow' theme came from our crazy weather. Yesterday it got up to about 65F and today we had some snow. I had the song running through my head all day.

February 21, 2012

Birthday Card

This birthday card is for my sister-in-law. I love using K & Company's papers. I think this paper is from their botanicals pack.


Things are starting to get crazy. I'm taking two difficult classes this semester in addition to working full time. For work, we have a large volunteer event we put on twice a year and the next one is in April...about 3 weeks before finals when the professors are cramming in those last exams, projects and other homework. Our kitchen looks like a disaster area. We've been slowly building a new cabinet to fit a dishwasher. Once that's done I'll be painting the cabinets and counter tops. Sadly, I don't expect to get much crafting done anytime soon.

January 29, 2012

Valentine's Card

Long time no type. The holidays were very busy for me. I've still been crafting, but haven't had the chance to photograph anything until today. I made some Christmas decorations for the new home that turned out well. I also finished up the wedding portion of my wedding/reception scrapbook. The reception/housewarming is in June. It seems like it's a long time away, but between school and work, it will be here quickly. I'm starting to work on things for that and just finished up the save-the-dates for it today.

Today is the first day of Charity Wing's Live from CHA feed. I won a scrap pack from their first interview, Robin's Nest. I've never heard of the company, but their products looked wonderful and I'm so excited to get their giveaway.

I've been working on some simple Valentine's cards for various people. They were super easy to make.


I used a border punch for the red border at the top. The hearts were cut from printed scrapbook paper. The lines were drawn on with a pearlescent pen. The final touch was a little bit of bling. That's it! They're great for assembly-line card making.

November 5, 2011

Wedding Card

One of my cousin's is getting married this weekend and I wasn't able to attend. My brother is going and I sent along this card for my cousin and his new wife.


I used a Lettering Delights file for the dark blue background and coated it in Tattered Angels glitter paint. That really doesn't show up. It's subtle but adds a nice glimmery touch. The greeting on the outside is from a rub-on set. It's raised off the card with dimensional sticker squares. I don't trust my Cricut to do print and cut with MTC, so I shall wait for my new cutter to do that sort of thing.


This is the inside. I'm almost certain I used a Lettering Delights font for the greeting.

October 30, 2011

Advent Calendar

Sadly, my camera doesn't want to recognize any memory card. I was hoping to post my Christmas tags today, but another Christmas project will have to do.


This advent calendar was made out of matchboxes and a cereal box. It was made for an advent calendar swap on Craftster. I feel like it needs something more 3D on top. I might make another one this year if I can find what I did with the patterns I made for the sides.

Hopefully my camera will be up and running again soon so I can post newer crafts.

October 25, 2011

Blast From The Past

I haven't done a lot of crafting lately so I thought I'd post a swap package from back in the day. Due to monetary constraints I haven't been able to participate in any swaps lately. The cost of supplies and postage is too much.

The name of this swap on Craftster was Forest Friends. My partner got a few handmade items and some supplies.


The bag was handmade. The crow was traced onto freezer paper and cut out with a hobby knife. Then it was ironed on as a stencil and painted. I believe this was my first time stenciling fabric and I didn't put anything under the fabric, not realizing that it would soak through. To this day I still have the image of a crow on my craft table. :)

Inside fabric of the bag. It's also reversible.


My partner also got leaf themed jewelry (earrings, bracelet, necklace), some very simple owl notecards, and some "Handmade By..." tags. These were all handmade by me. The rest are stickers and scrapbook embellishments.
October 14, 2011

Waterfall Cards

I made waterfall cards for a couple of birthdays that are coming up next weekend. The first is for a little boy's first birthday. The second for my sweet-loving mother-in-law. All the images were cut from Lettering Delights sets.


October 11, 2011

Pink Christmas

The Jingle Belles challenge this week is to make a card using pink in honor of Breast Cancer Awareness Month. The best part of this challenge is that $2 will be donated to the Susan G. Komen for the Cure for every card that is entered. I'm not a big fan of pink, but there's no way I could pass this up. It really was a challenge creating something for Christmas with pink.


For the background I used pink card stock and spritzed it with Tattered Angels pink bubblegum glimmer mist. The tree is from a set from Hobby Lobby. The adorable little deer and text are from K. Andrew's Christmas stamp set. Flowers are Prima's, ribbon from the dollar section at target. All stamps are embossed.

It didn't show up in the picture, but below the deer and tree, I used Tattered Angels chandelier glitter paint. I haven't used it previously and wasn't sure what to expect. I wanted to add some glimmer as snow. Next time I will add a little more definition for the snow first. Maybe do some clear or slightly off white embossing then add the glimmer.