Showing posts with label wedding. Show all posts

November 5, 2011

Wedding Card

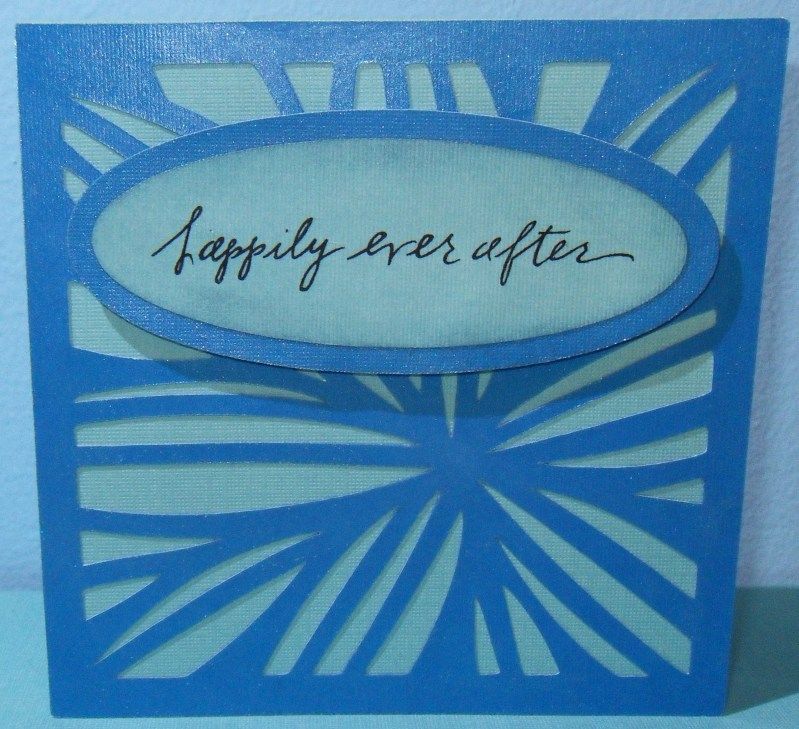
One of my cousin's is getting married this weekend and I wasn't able to attend. My brother is going and I sent along this card for my cousin and his new wife.


I used a Lettering Delights file for the dark blue background and coated it in Tattered Angels glitter paint. That really doesn't show up. It's subtle but adds a nice glimmery touch. The greeting on the outside is from a rub-on set. It's raised off the card with dimensional sticker squares. I don't trust my Cricut to do print and cut with MTC, so I shall wait for my new cutter to do that sort of thing.


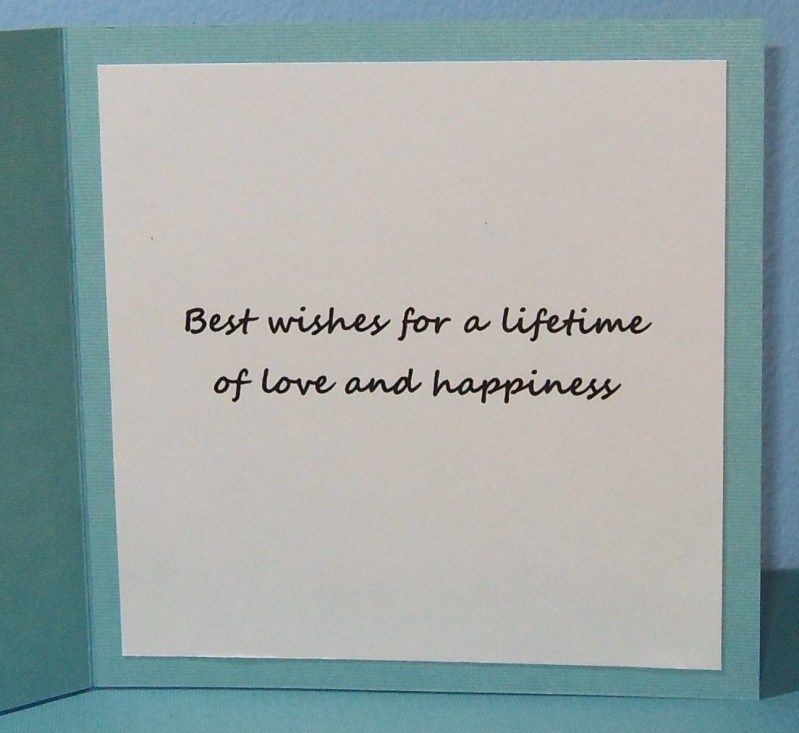
This is the inside. I'm almost certain I used a Lettering Delights font for the greeting.

September 23, 2011

Wedding Soap Favors


For favors, we gave out handmade soap with recycled, handmade soap dishes. The soap was a simple recipes I found on Brambleberry's Soap Queen Blog. The scent I called Summer Wedding, but is Brambleberry's energizing fragrance. To me it smells citrus-y and summery. Almost everything I used to make the soap came from Brambleberry. Awesome shop. The ribbon I purchased at Forever Wed.


The soap dishes were made from scrap wood from the oak flooring we installed throughout most of our house. It couldn't be used for the flooring for various reasons such as being too warped, having the tongue cut off, too short to look good and so on. I couldn't let all this scrap wood go to waste, so some of it got turned into simple soap dishes. To do that, I just cut off the tongue, made them a uniform size to fit the bar of soap, and added three drainage grooves to help direct water away from the soap. In the process I also got to use a table saw for the first time. That was fun.

We still have a bunch of scrap wood left over. Do you have any ideas on how to use it? Please tell me below. I'm itching to make something or somethings with it.

September 1, 2011

Boutonnieres


Even though we didn't have attendants at the ceremony, I made boutonnieres for the groom and fathers of the bride and groom. They were finicky to put together, but at the same time simple. I took a peacock feather and trimmed off the excess bits of feather. I added the small green flower with a long stem then wrapped green ribbon around the base, secured with a dab of hot glue. This part was difficult because the ribbon kept shifting and wanting to unwind after the glue was securing it. For the final touch, I tied a bow using blue ribbon and hot glued it deeply under the flower to add just a hint of blue. It was much easier to tie it away from the boutonniere than to tie it around. I was trying very hard not to break apart the eye of the peacock feather, which made putting the thing together more difficult.

For myself, I put a large white flower in my hair I picked up at Hobby Lobby. The mothers had smaller white flowers pinned to their dresses. Very simple but a really nice touch.

August 29, 2011

Unity Candle


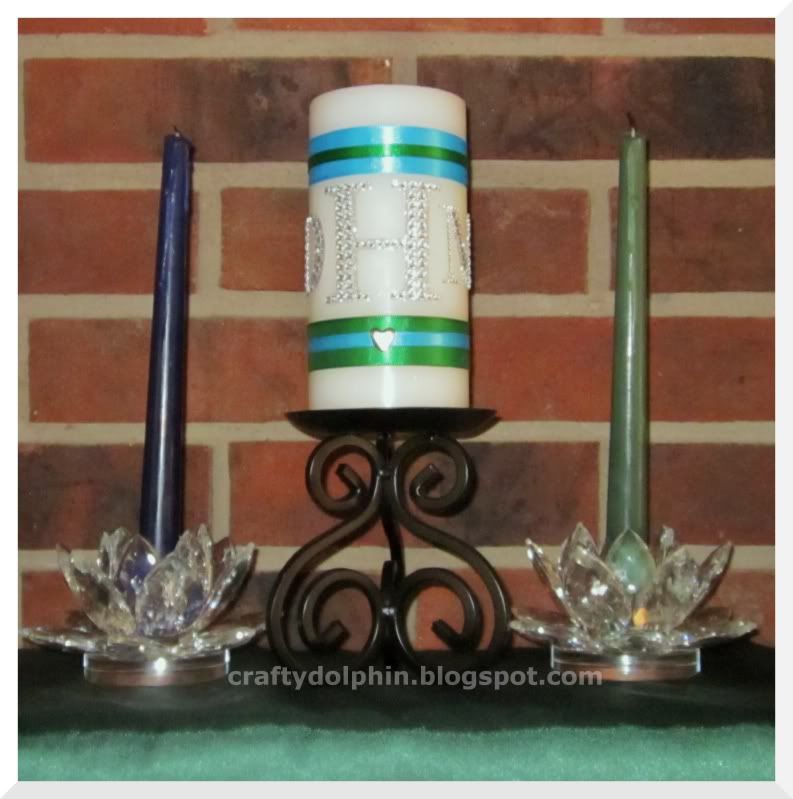
As part of our wedding we did a unity candle ceremony. It was a little bit different from most in that we included the guests as well. Everyone was given a small stick candle and candle holder. We passed the flames to our siblings who then passed the flames around to everyone else. Once the unity ceremony was finished the guests were asked to make a wish as they blew out the candles. As of yet, I don't have photos of the individual candles.

Everything for our candles was purchased at Hobby Lobby. The 3 candles and candle holders were all 50% off. I love Hobby Lobby sales. The large pillar is white with two layers of ribbon that was attached using corsage pins poked into the candle. The heart is from a pack of brads. I snipped off the brad part and just hot glued the heart over the ribbon. The initials (DHM) were found in the scrapbooking section and were just simply stuck onto the candle. They stick just fine on the wax. Easy peasy!

For the guest's candle they had a 6" green stick candle. The candles alone were much too plain so I had to spice them up. I started by wrapping some of the thinner blue ribbon around near the bottom...maybe 2/3 of the way down the candle. To do this I used a small dab of low-temp hot glue on the candle and stuck one end of the ribbon on it. Then I wrapped the ribbon around, overlapped it with the glued end and added another dab of glue to keep it in place. This was still too plain for me so I went back and added a heart brad as described above. Looking back now I would have added the heart over the seam of the ribbon rather than on the opposite side.

August 27, 2011

Short update

Photobucket


Long time no post. But it's been a very busy summer. I got married on the 13th of August. (I did make the bouquet in the picture, but that is the only thing you can see here.) Very soon I will start sharing photos of the things I made for the wedding with a summary post with links back as a reference. The house is coming along nicely. There is still so much to do, but we can only afford to do so much at once. Good thing we plan on staying here for a while.

June 24, 2011

Crafting on a bigger scale.

Just wanted to pop in and say a quick hello.

We have moved into the house, ended up with a third kitty and adopted a puppy. Things have been busy. We've been living out of the kitchen for over a week now since pulling up the carpet. Hopefully we will be done installing the new flooring by Saturday. I really hope this happens because our help leaves Sunday morning. They are the ones who know what they're doing too.

I finished and sent off my wedding invites. As soon as I can get my scanner set back up I'll post some pictures. I love how they came out.

I'm used to working on smaller craft projects. Ones that don't take more than a day or two to complete. The house has been like one big ongoing craft project. We have all the walls and ceilings painted. Most of the trim is done, but today I'll be painting the new base trim we got along with the doors. If the sun decides to come out I'm hoping to get some progress photos.

Along with everything else I managed to get a garden planted. Some of the seedlings I started don't look so good. Some of them look okay so far. I'm hoping at least one plant will survive and produce veggies.

I'm also planning on building a chicken coop. If I can pull this off I'll be beyond happy. I have projects planned that I could never pull off in the apartments I've lived in. We have saws and drills and other tools that I can use to craft stuff now :)

I hope everyone out there is doing well. Time to paint some trim.

April 20, 2011

Save the Dates!

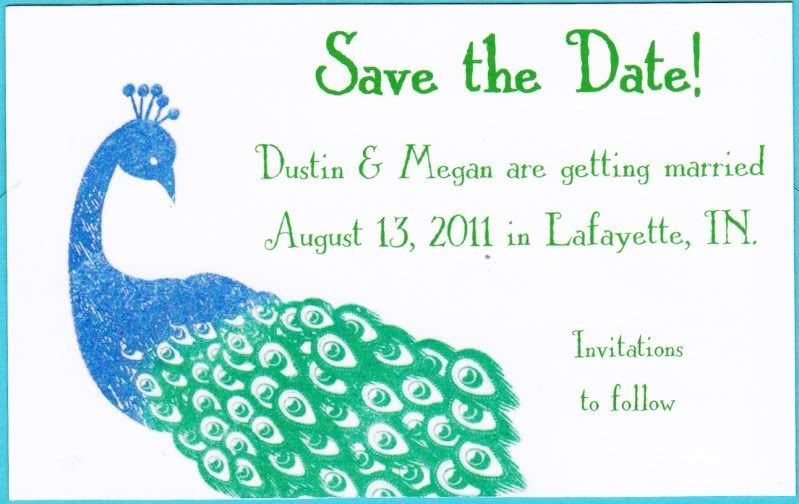
Today I sent out the Save-the-Dates for our wedding ceremony and dinner. For the wedding, I'm trying to handcraft as much as I can. Thankfully we're having a small ceremony so I don't have a hundred invites to make. The Save-the-Dates are made with printable magnetic sheets. I was going to print out the text, then stamp and emboss on it, but discovered that ink doesn't take well to the glossy paper. I ended up stamping the image on white paper, scanning it in, then put the image in my template and printing out the entire thing. Each magnet is 4.15" x 2.75".


Then I made a card with slits on it to hold the magnet. I ended up adding a little note saying "It's a magnet" because both of us felt that it wasn't obvious with how thin the magnetic paper was. The outside of the card is stamped and embossed and measures 5.5" x 4.25". A perfect fit for the envelopes I have.


The stamps I used are part of a Fiskars set.